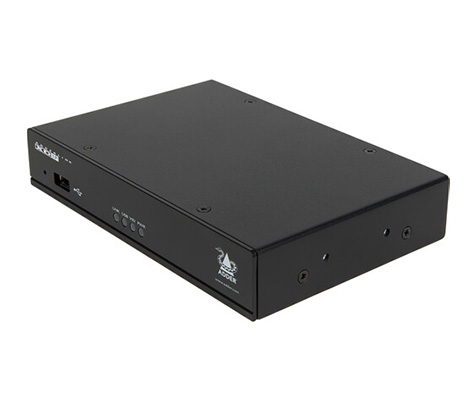
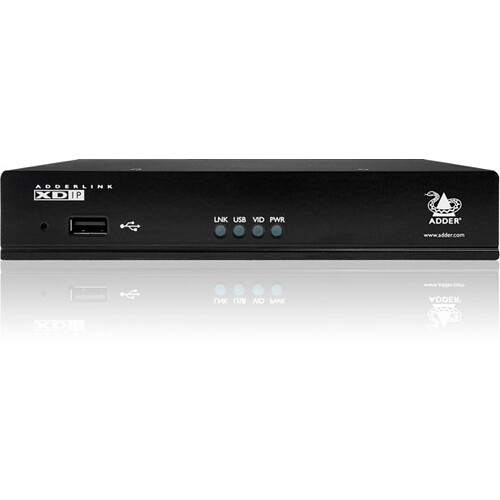
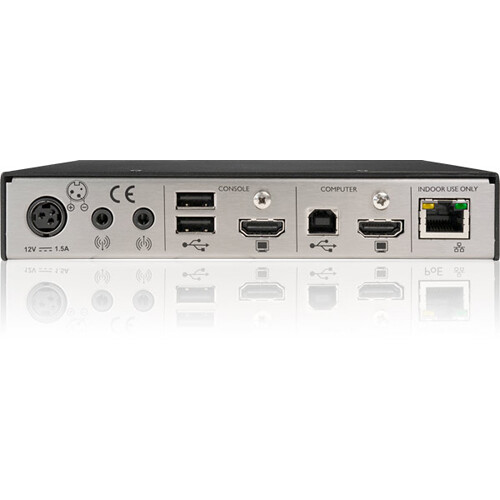
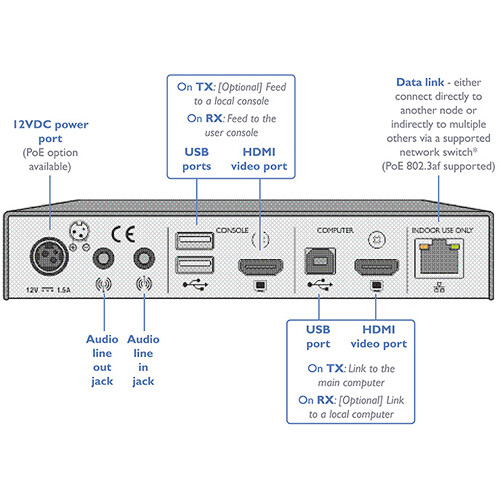
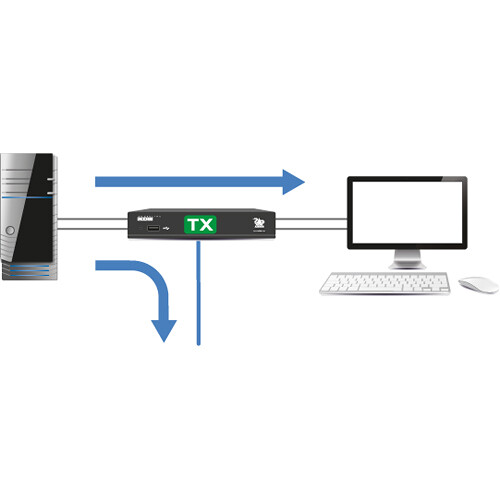
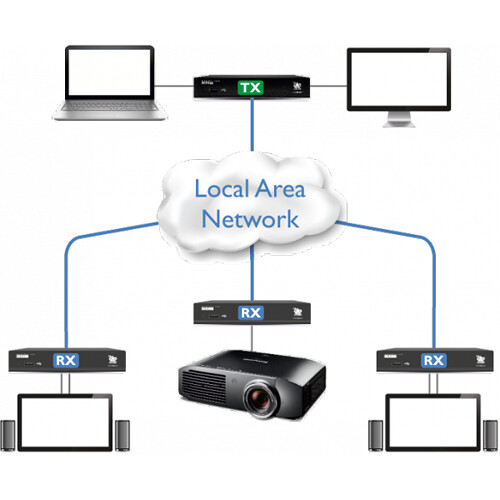
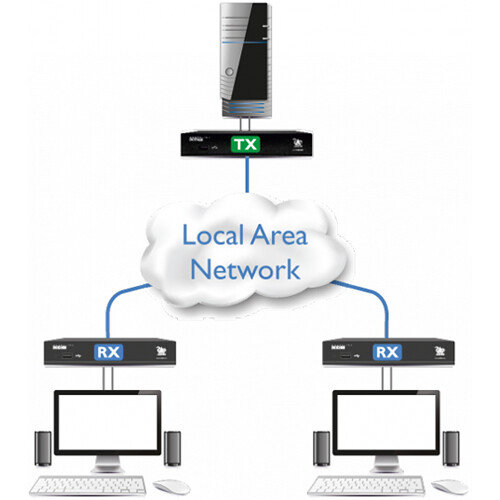
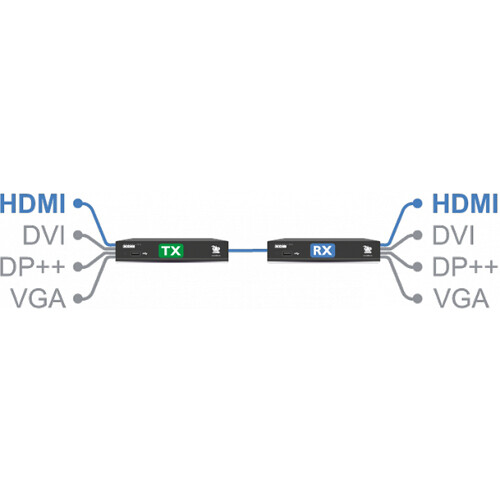
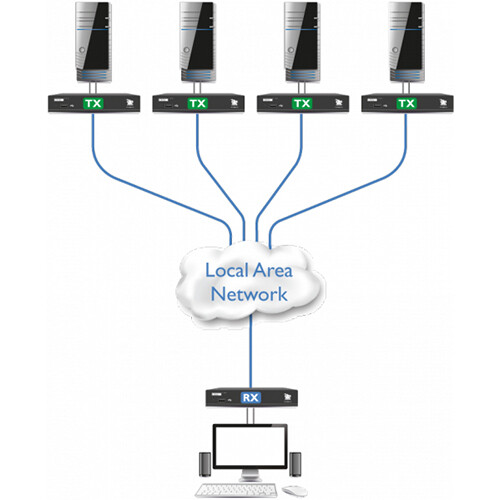
The ADDERLink XDIP is designed to improve IT scalability for small to medium businesses. Utilizing a standard 1Gb/s IP network, the XDIP enables users to extend and manage critical PCs with ultra-low latency and HD video. An intuitive API delivers remote control of the matrix and allows the XDIP to be integrated into larger systems, controlled by third party softwareThe Adder XDIP HD KVM allows you to achieve single UHD playback with exceptional clarity and precision. Whether you’re working on graphic-intensive tasks, video editing, or simply require the highest quality display, the XDIP ensures that you can experience Ultra High Definition (UHD) content seamlessly.
- Powerful KVM extender with KVM matrix functionality
- Configurable as a point to point extender or small matrix solution
- A single unit can be programmed as transmitter or receiver
- Remote control via RESTful API or HTTPS web browser
- Support for Power over Ethernet (PoE)
- Local USB and video feed through ports
Installation
Installation Steps:
1.
Connect Transmitter and Receiver: Start by connecting the transmitter (local) and receiver (remote) units. Use Cat 5e/6/7 cables to link the two units. Ensure that you have a reliable network infrastructure for optimal performance.
2.
Power Up: Plug in the power adapters for both the transmitter and receiver units. Ensure they are connected to a power source.
3.
Video and Peripherals: Connect your display, keyboard, and mouse to the receiver unit. Connect the transmitter unit to the computer you want to control.
4.
Network Connection: Ensure that both transmitter and receiver units are connected to your network using Ethernet cables.
5.
Configuration: Configure the system settings as needed, such as video resolution and security settings.
6.
Testing: Test the setup to ensure that you have remote control over your computer with high-quality UHD video.
For more detailed installation instructions, please refer to the
user manual provided with the equipment.

